The exposure triangle, in plain words
Aperture, shutter speed and ISO: what each one does, what it costs and how to balance them.

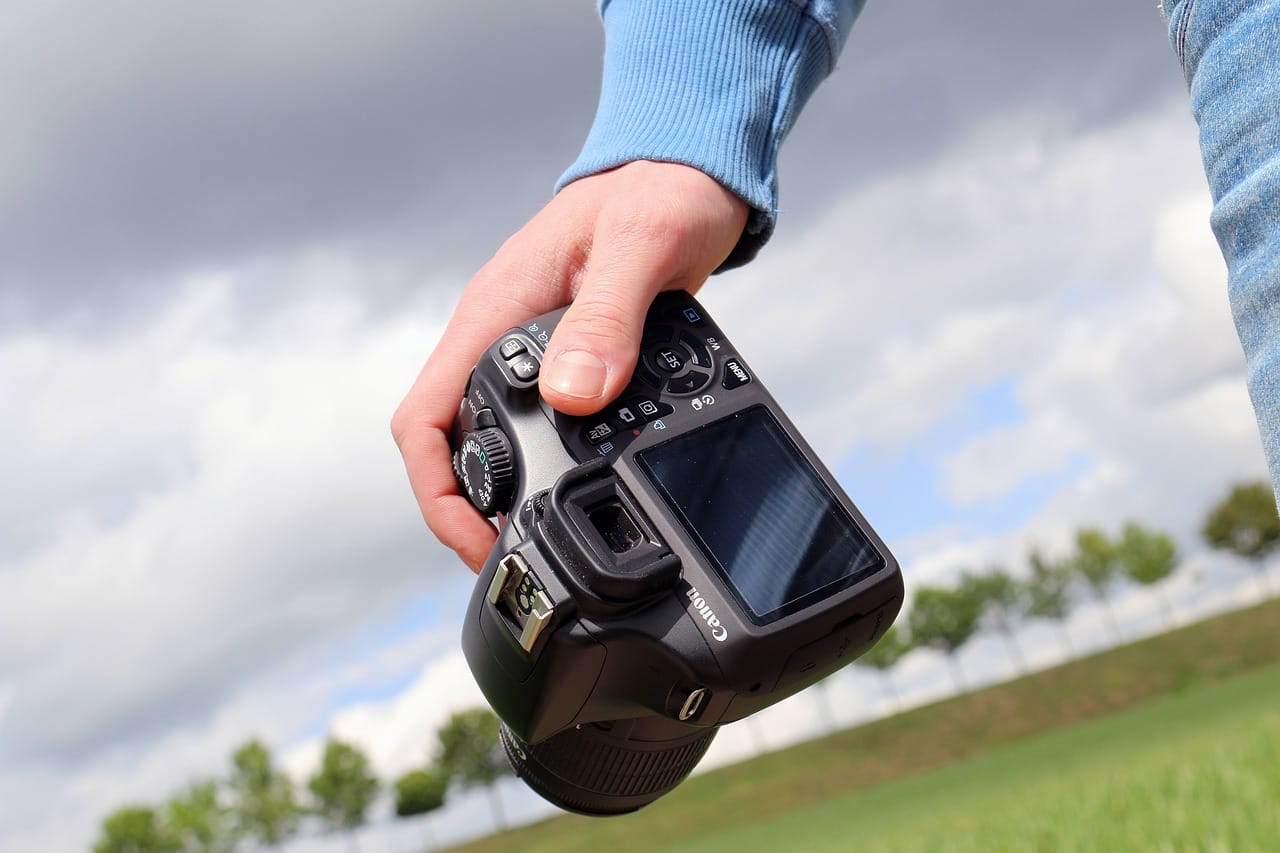
Every photograph is a measured amount of light. Too little and the picture is dark; too much and it is washed out. Your camera controls that amount with three settings: aperture, shutter speed and ISO. Together they are called the exposure triangle. This lesson explains each one in plain words, and shows how changing one means changing another.
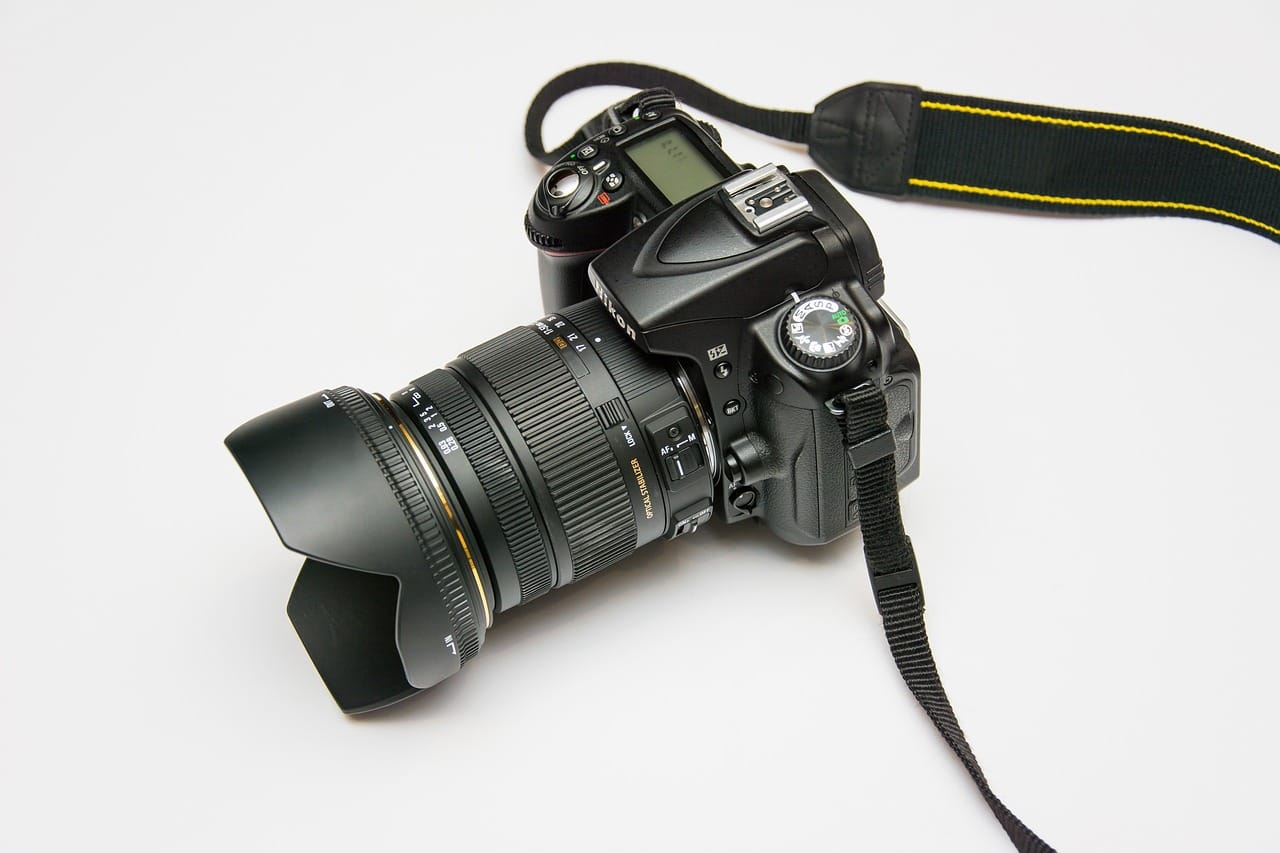
A bucket in the rain
Imagine you want to fill a bucket with rainwater. You can use a wider bucket (more water arrives at once), leave it out longer, or be happy with a bucket that is less full. Photography works the same way:
- Aperture is how wide the bucket is: the size of the opening in the lens.
- Shutter speed is how long you leave the bucket out: how long the sensor sees the light.
- ISO is how sensitive the sensor is: how full the bucket needs to be for a good picture.
Each setting is measured in stops. One stop more means twice as much light; one stop less means half as much.
Aperture
Aperture is written as an f-number: f/1.8, f/4, f/8, f/16. The confusing part is that a small number means a big opening. f/1.8 lets in a lot of light; f/16 lets in very little.
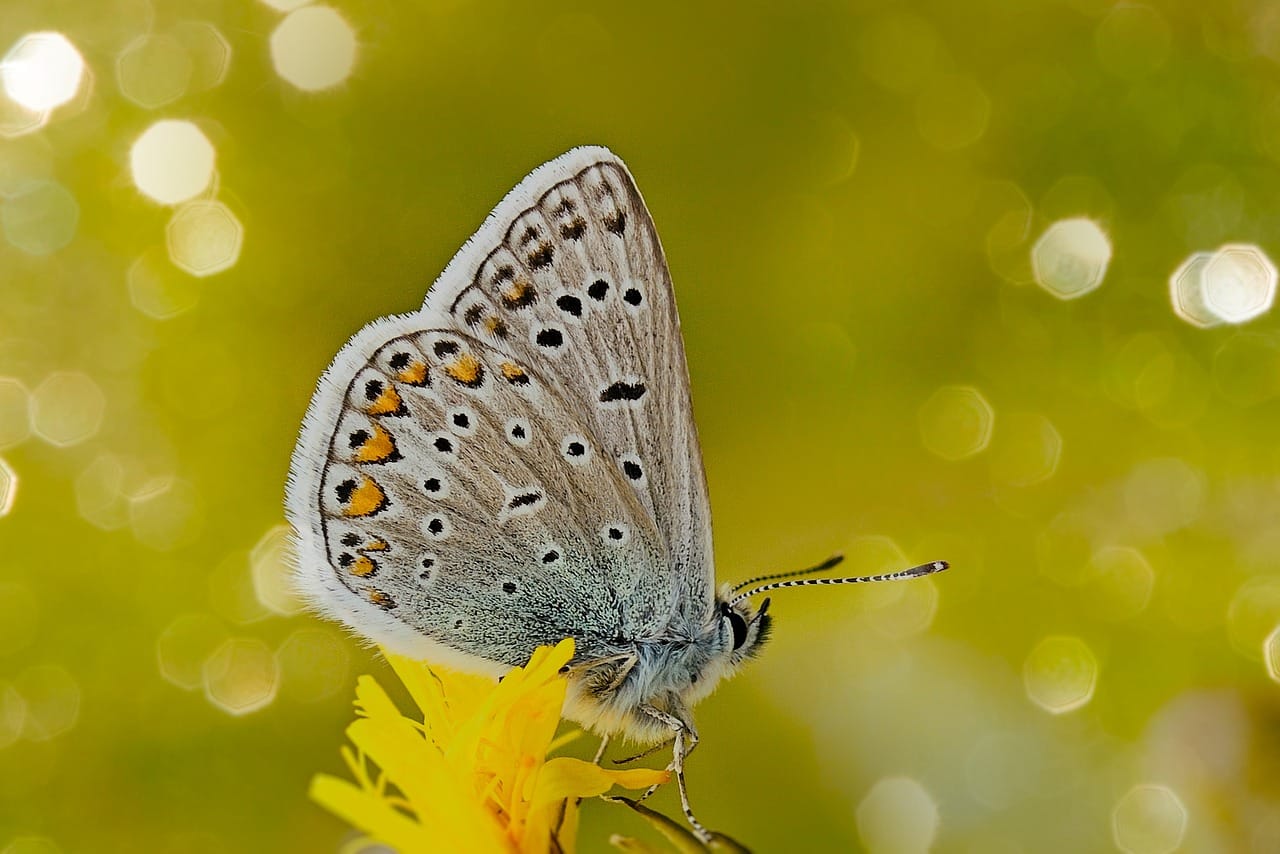
Aperture also controls depth of field: how much of the picture is sharp from front to back. A wide aperture (f/1.8) gives a shallow depth of field, with a sharp subject and a soft, blurred background. A narrow aperture (f/11) keeps almost everything sharp.
Shutter speed
Shutter speed is how long the shutter stays open, written in seconds or fractions: 1/1000, 1/125, 1/2, 2". Fast speeds freeze movement; slow speeds blur it.
| Shutter speed | Good for |
|---|---|
| 1/1000 s | Sport, birds, splashing water |
| 1/250 s | People walking, children playing |
| 1/60 s | Still subjects, handheld |
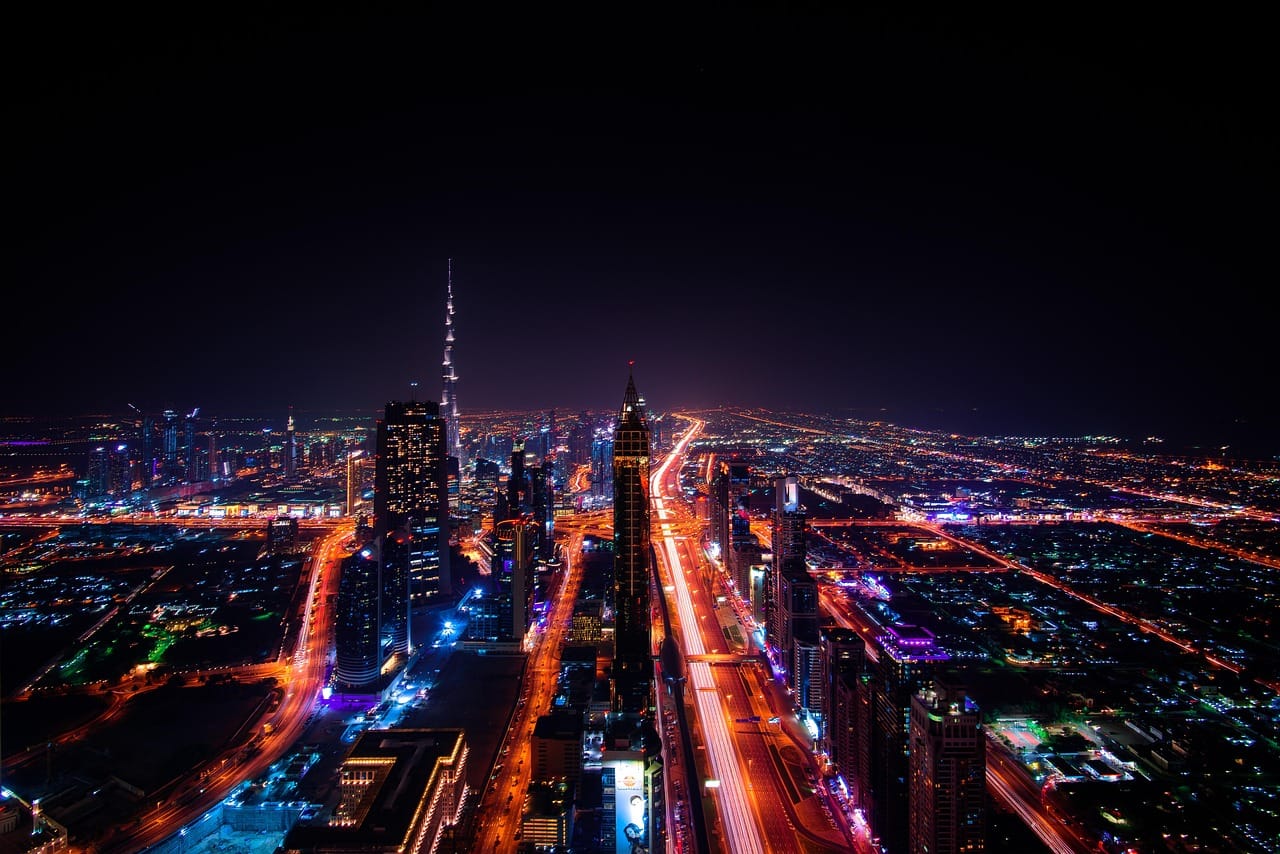
| 1/4 s and slower | Tripod only: light trails, silky water |
A simple rule for handheld photos: use a shutter speed at least as fast as 1 divided by your focal length. With a 50 mm lens, use 1/50 s or faster to avoid camera shake.
ISO
ISO sets how sensitive the sensor is. ISO 100 is the cleanest. Each doubling (200, 400, 800) makes the picture one stop brighter but adds more noise: grain and blotchy colour, especially in shadows. Modern cameras and phones handle ISO 1600 or 3200 well, so do not be afraid to raise it in dim light. A sharp, slightly noisy photo is better than a blurred, clean one.
Balancing the triangle
Change one setting and, to keep the same brightness, you must change another by the same number of stops. For example, if you open the aperture from f/8 to f/5.6 (one stop more light), you can make the shutter speed one stop faster, from 1/125 to 1/250. The brightness stays the same, but the look changes: less depth of field and more frozen movement.
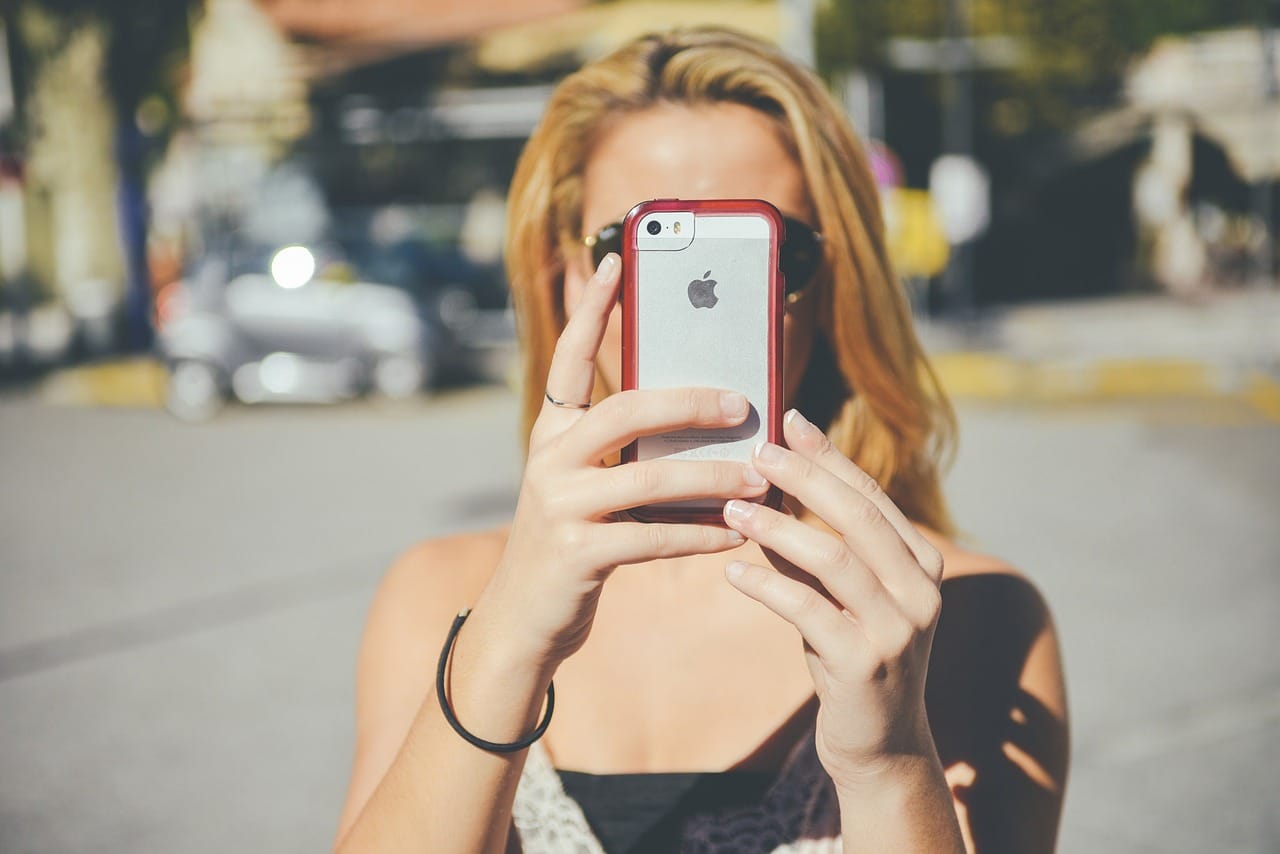
What about phones?
Camera modes
Most cameras offer a few main modes:
- Auto chooses everything. Good for quick snapshots, but you cannot control the look.
- Aperture priority (A or Av) lets you choose the aperture; the camera sets the shutter speed. Best for most people, most of the time.
- Shutter priority (S or Tv) lets you choose the shutter speed; the camera sets the aperture. Useful for sport and movement.
- Manual (M) means you choose everything. It is useful when the light is steady, such as in a studio or for night photos on a tripod.
Many photographers use aperture priority with auto ISO and a minimum shutter speed. This gives creative control with very few missed shots.
Practice: one scene, three settings
Choose a subject with a background a few metres behind it, such as a plant in front of a fence. Take three photos:
- At the widest aperture your lens allows, such as f/1.8 or f/4.
- At f/8.
- At f/16.
Keep the camera in aperture priority so the brightness stays the same. Compare the backgrounds. Then repeat the exercise with shutter speed and a moving subject, like a fountain or traffic. Seeing the difference with your own eyes makes the triangle stick.
Quick check
Which aperture lets in the most light?
- f/16
- f/8
- f/1.8
You want to freeze a cyclist. Which shutter speed?
- 1/4 s
- 1/30 s
- 1/1000 s
What is the cost of a high ISO?
- A shallower depth of field
- More noise in the picture
- More motion blur
Questions and discussion